Newly Added Room Photo
After you upload a room photo, you'll see it at the top of the Rooms tab.

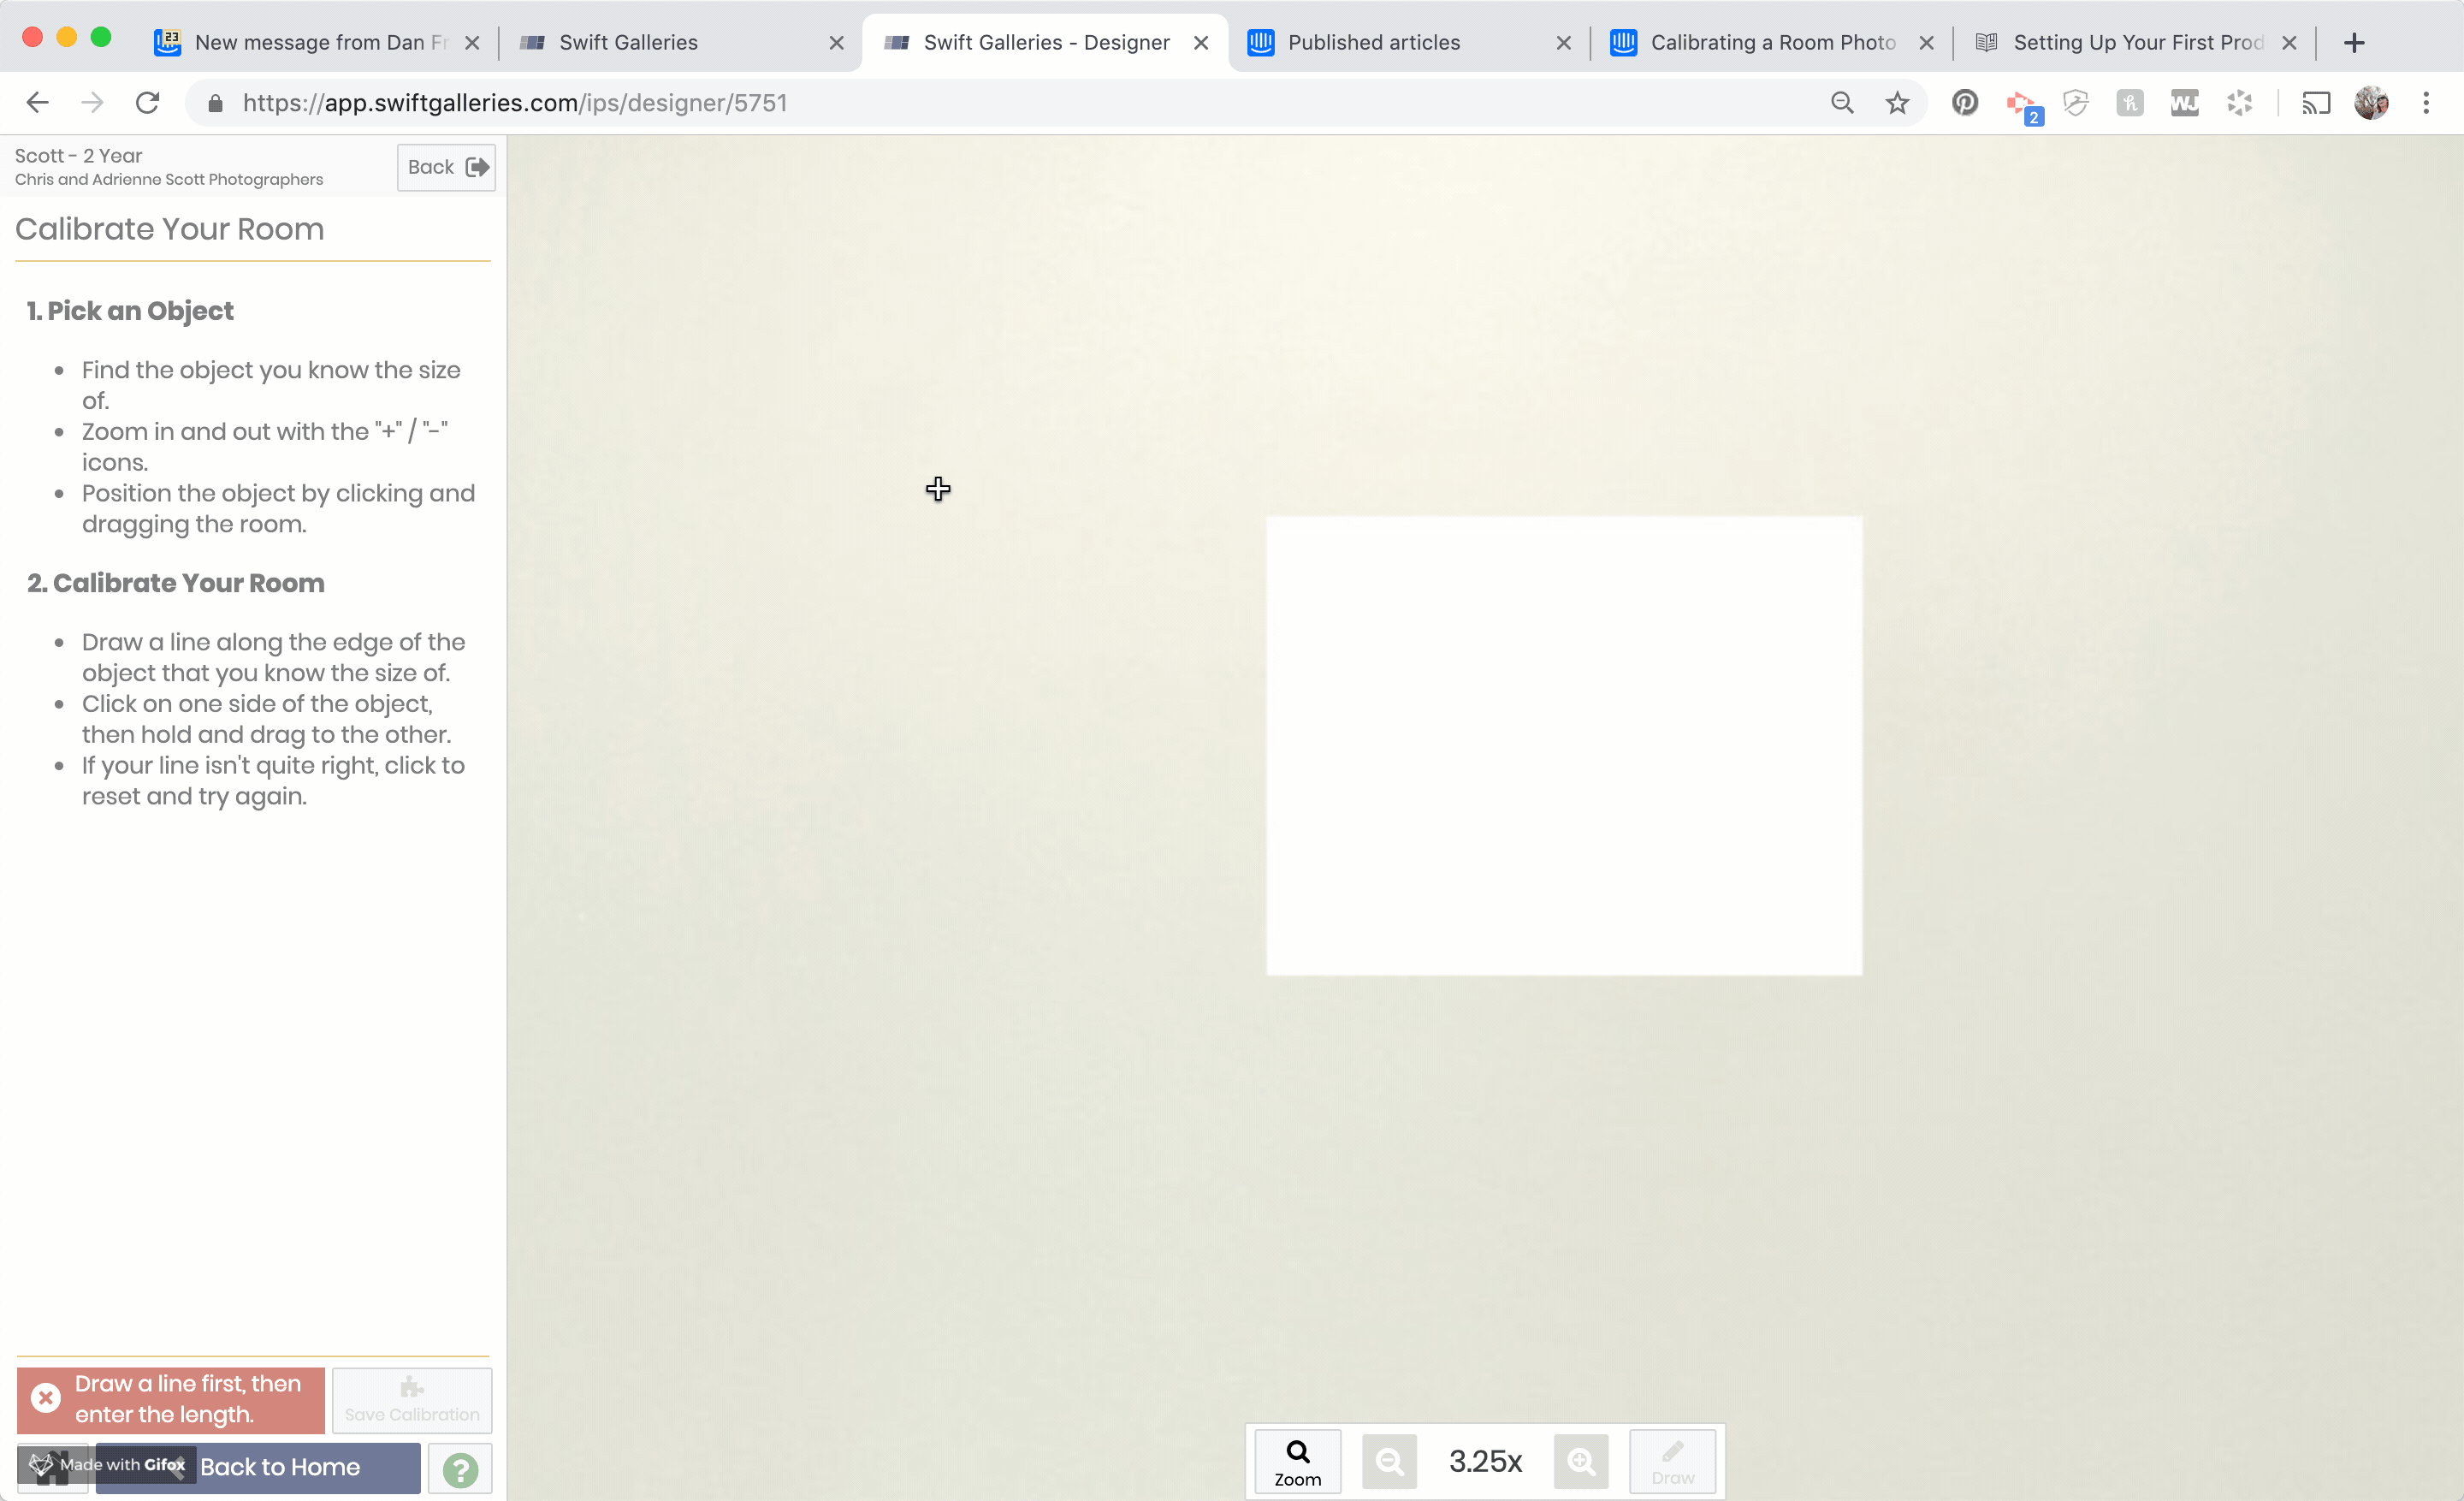
Calibrating the Room Photo
To begin the process, click on the room slide that you've upload and choose "Calibrate".
Find Your Reference Point
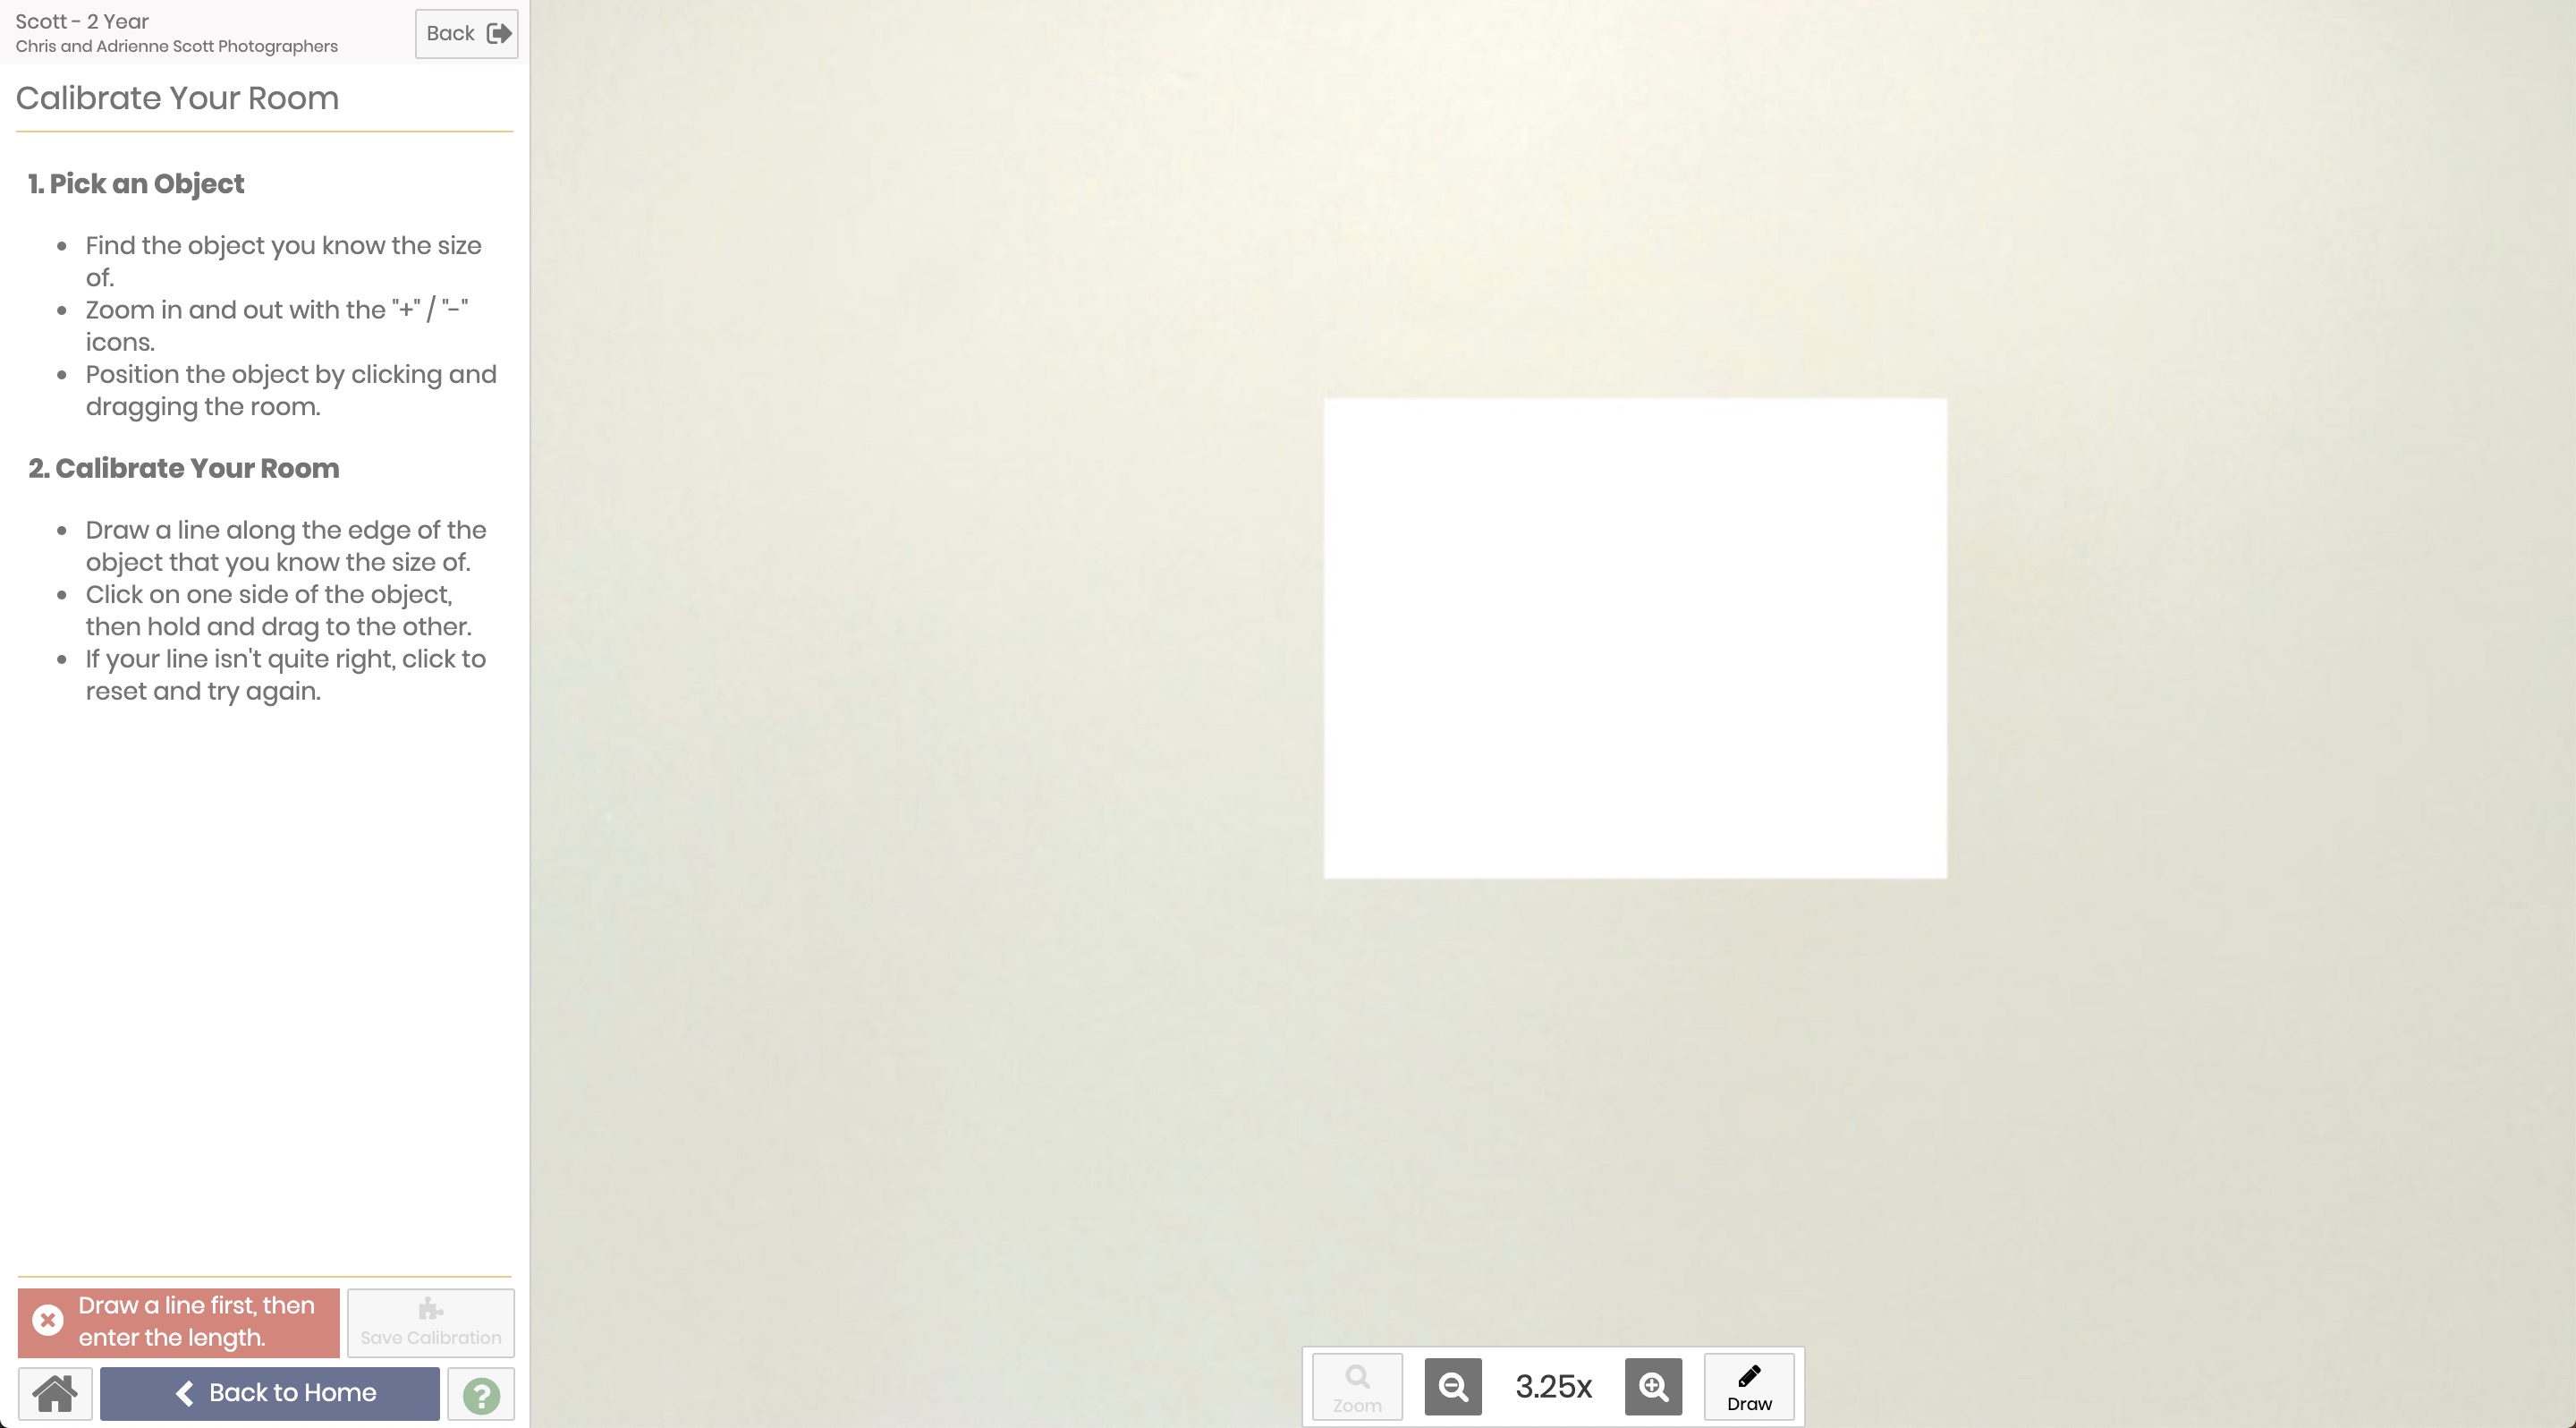
Swift Galleries needs a reference point to determine the size of the room. First zoom in on the portion of the room photo you know the length of. In the case of the image below, we'll use the piece of 8.5x11 paper on the wall.
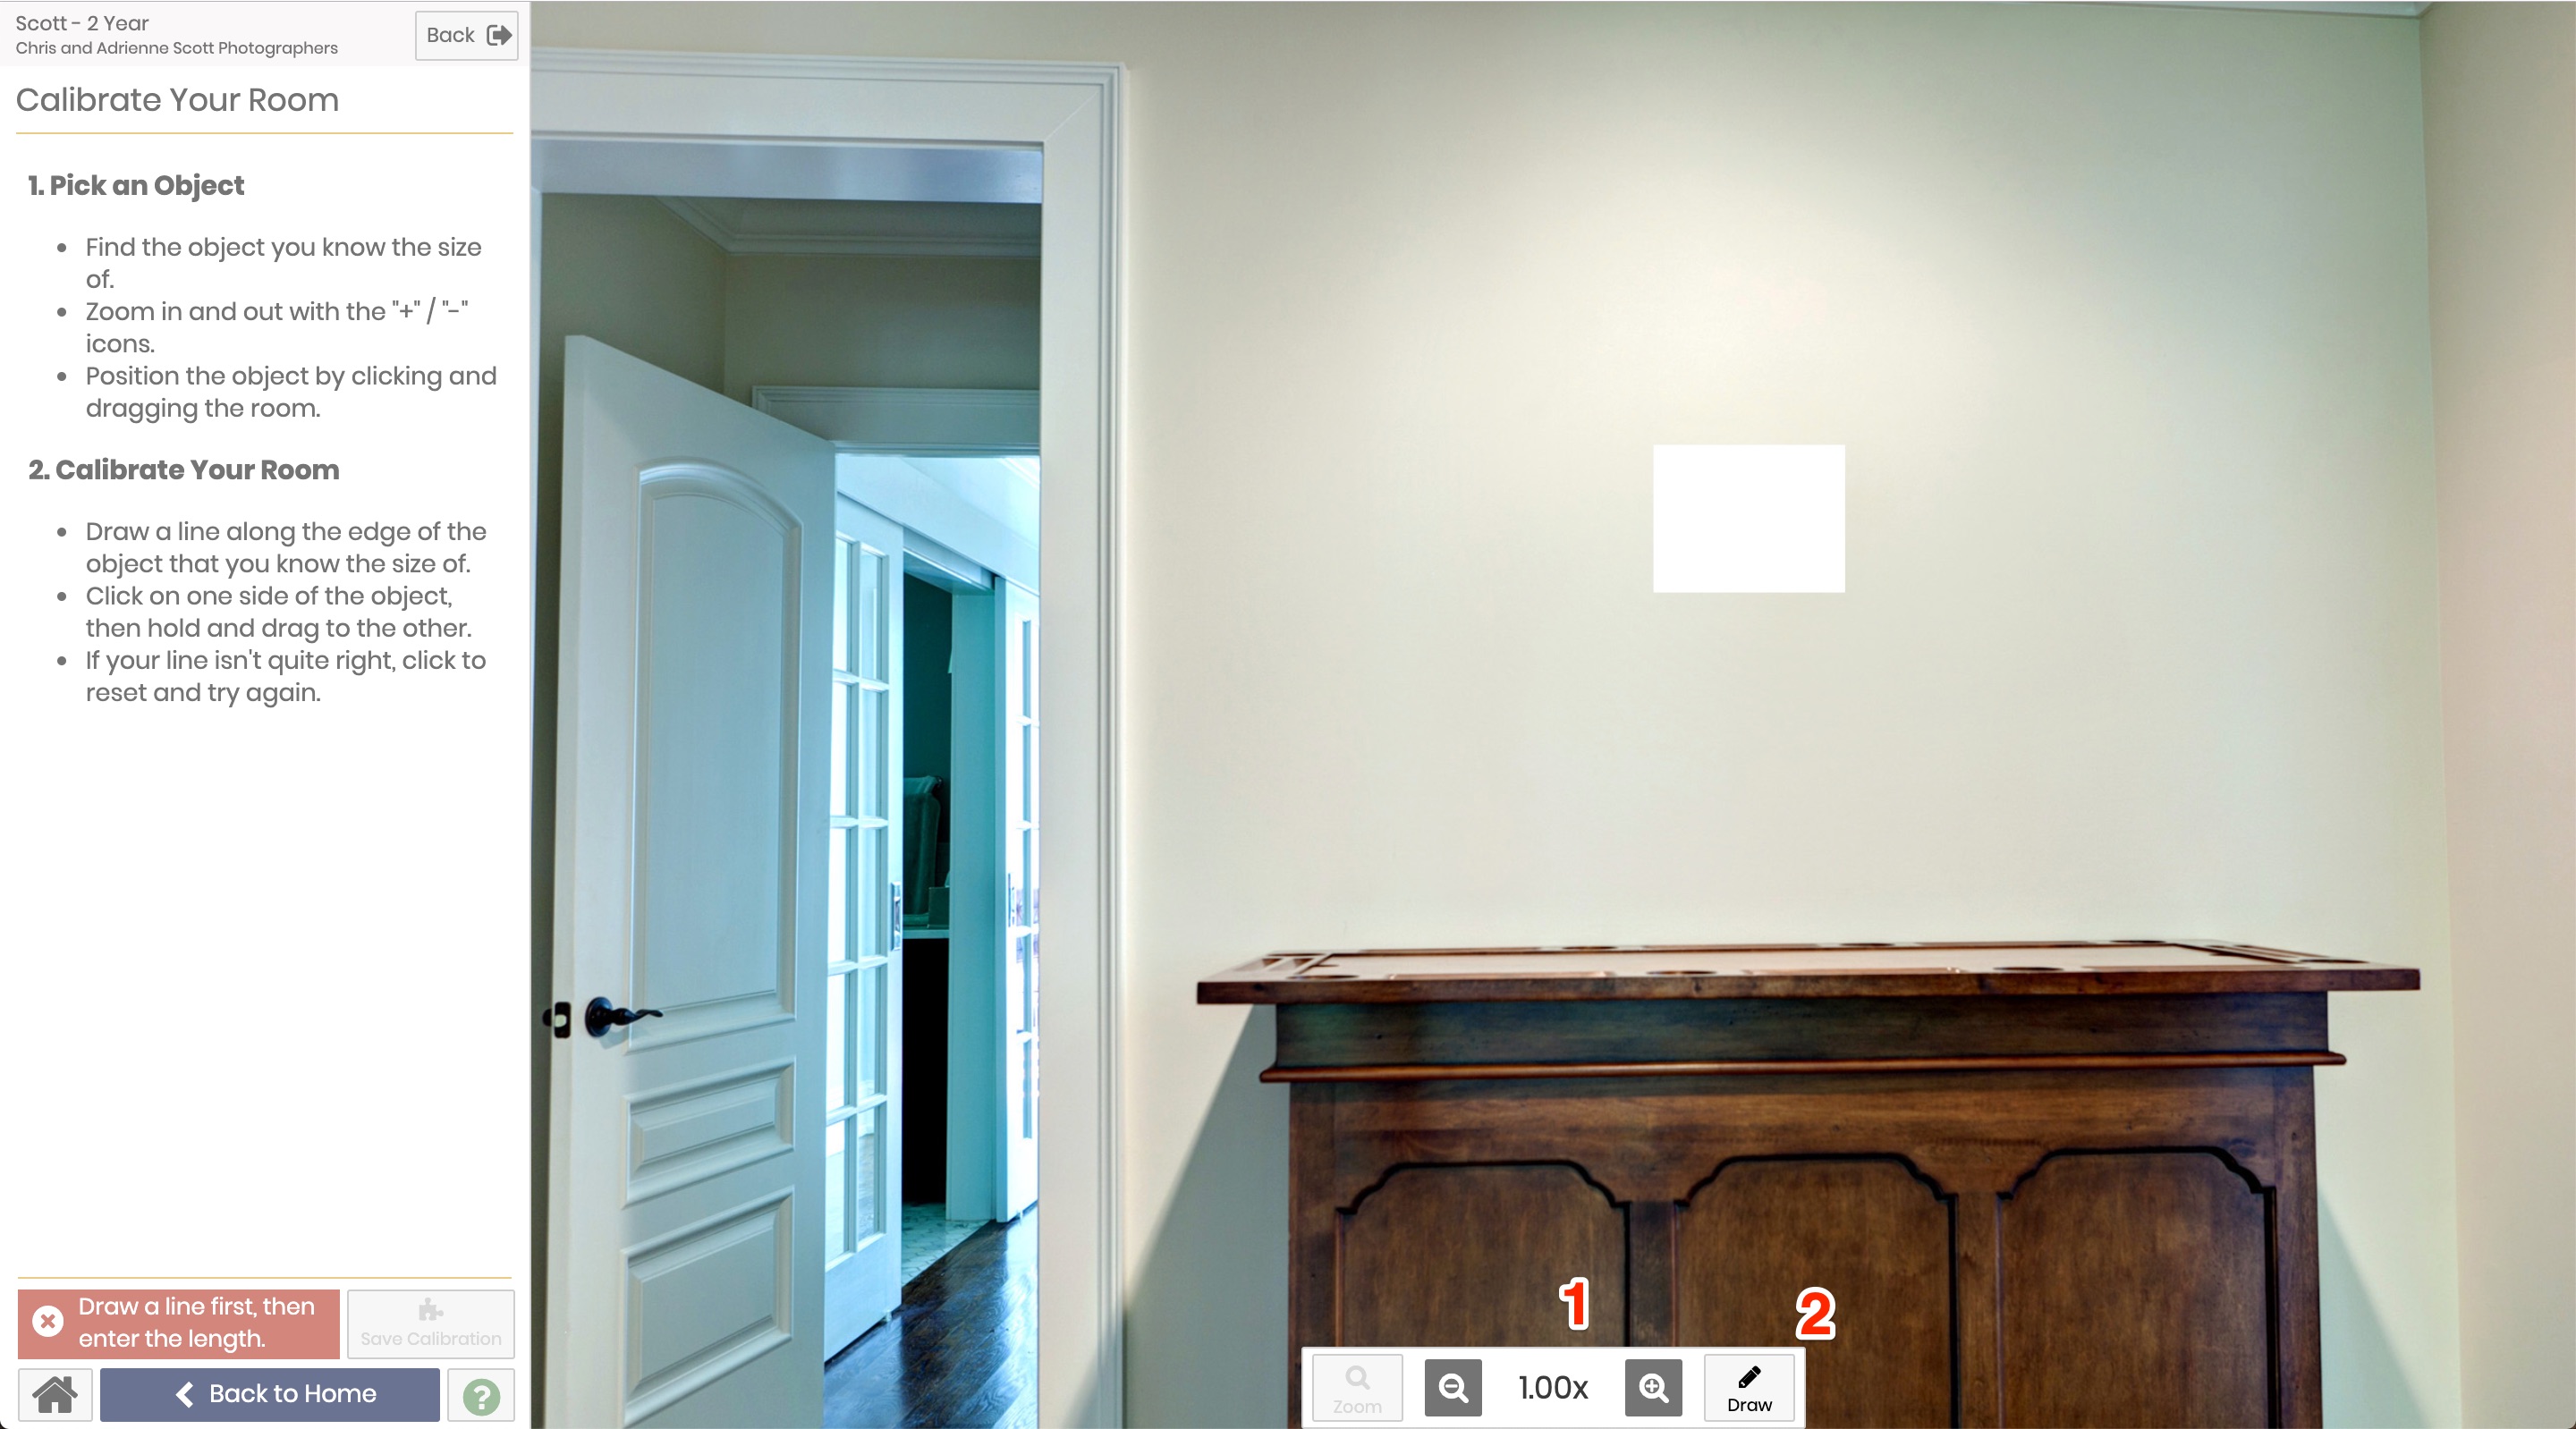
1. Zoom In
Use the magnifying glass buttons to zoom in / out on the reference point.
2. Draw
When you're satisfied with the reference point, click the Draw button to finish the calibration process.
Draw a line by clicking or touching on one point and dragging until the end of the reference point.
If you make a mistake, simply click anywhere to clear the line and try again.
Please be careful though; this is how Swift Galleries calibrates your line and if you draw the line too long or too short it will impact the size of the products!
You must also be sure to size an object that is on the same plane as the wall art.
For example, if you have a desk up against the wall, make sure you're drawing the line along the edge of the desk up against the wall, not the edge closest to the camera.
2. Setting the Length
Please type in the length of the line. It will be in inches or centimeters, depending on your studio preferences.
3. Apply
Click "Apply Calibration"; the room is now calibrated! Swift Galleries will immediately apply the room and resize the products you had on the wall to match the new wall and its calibration.