
The cropping tool allows you to zoom in on a photo and create it around the product.
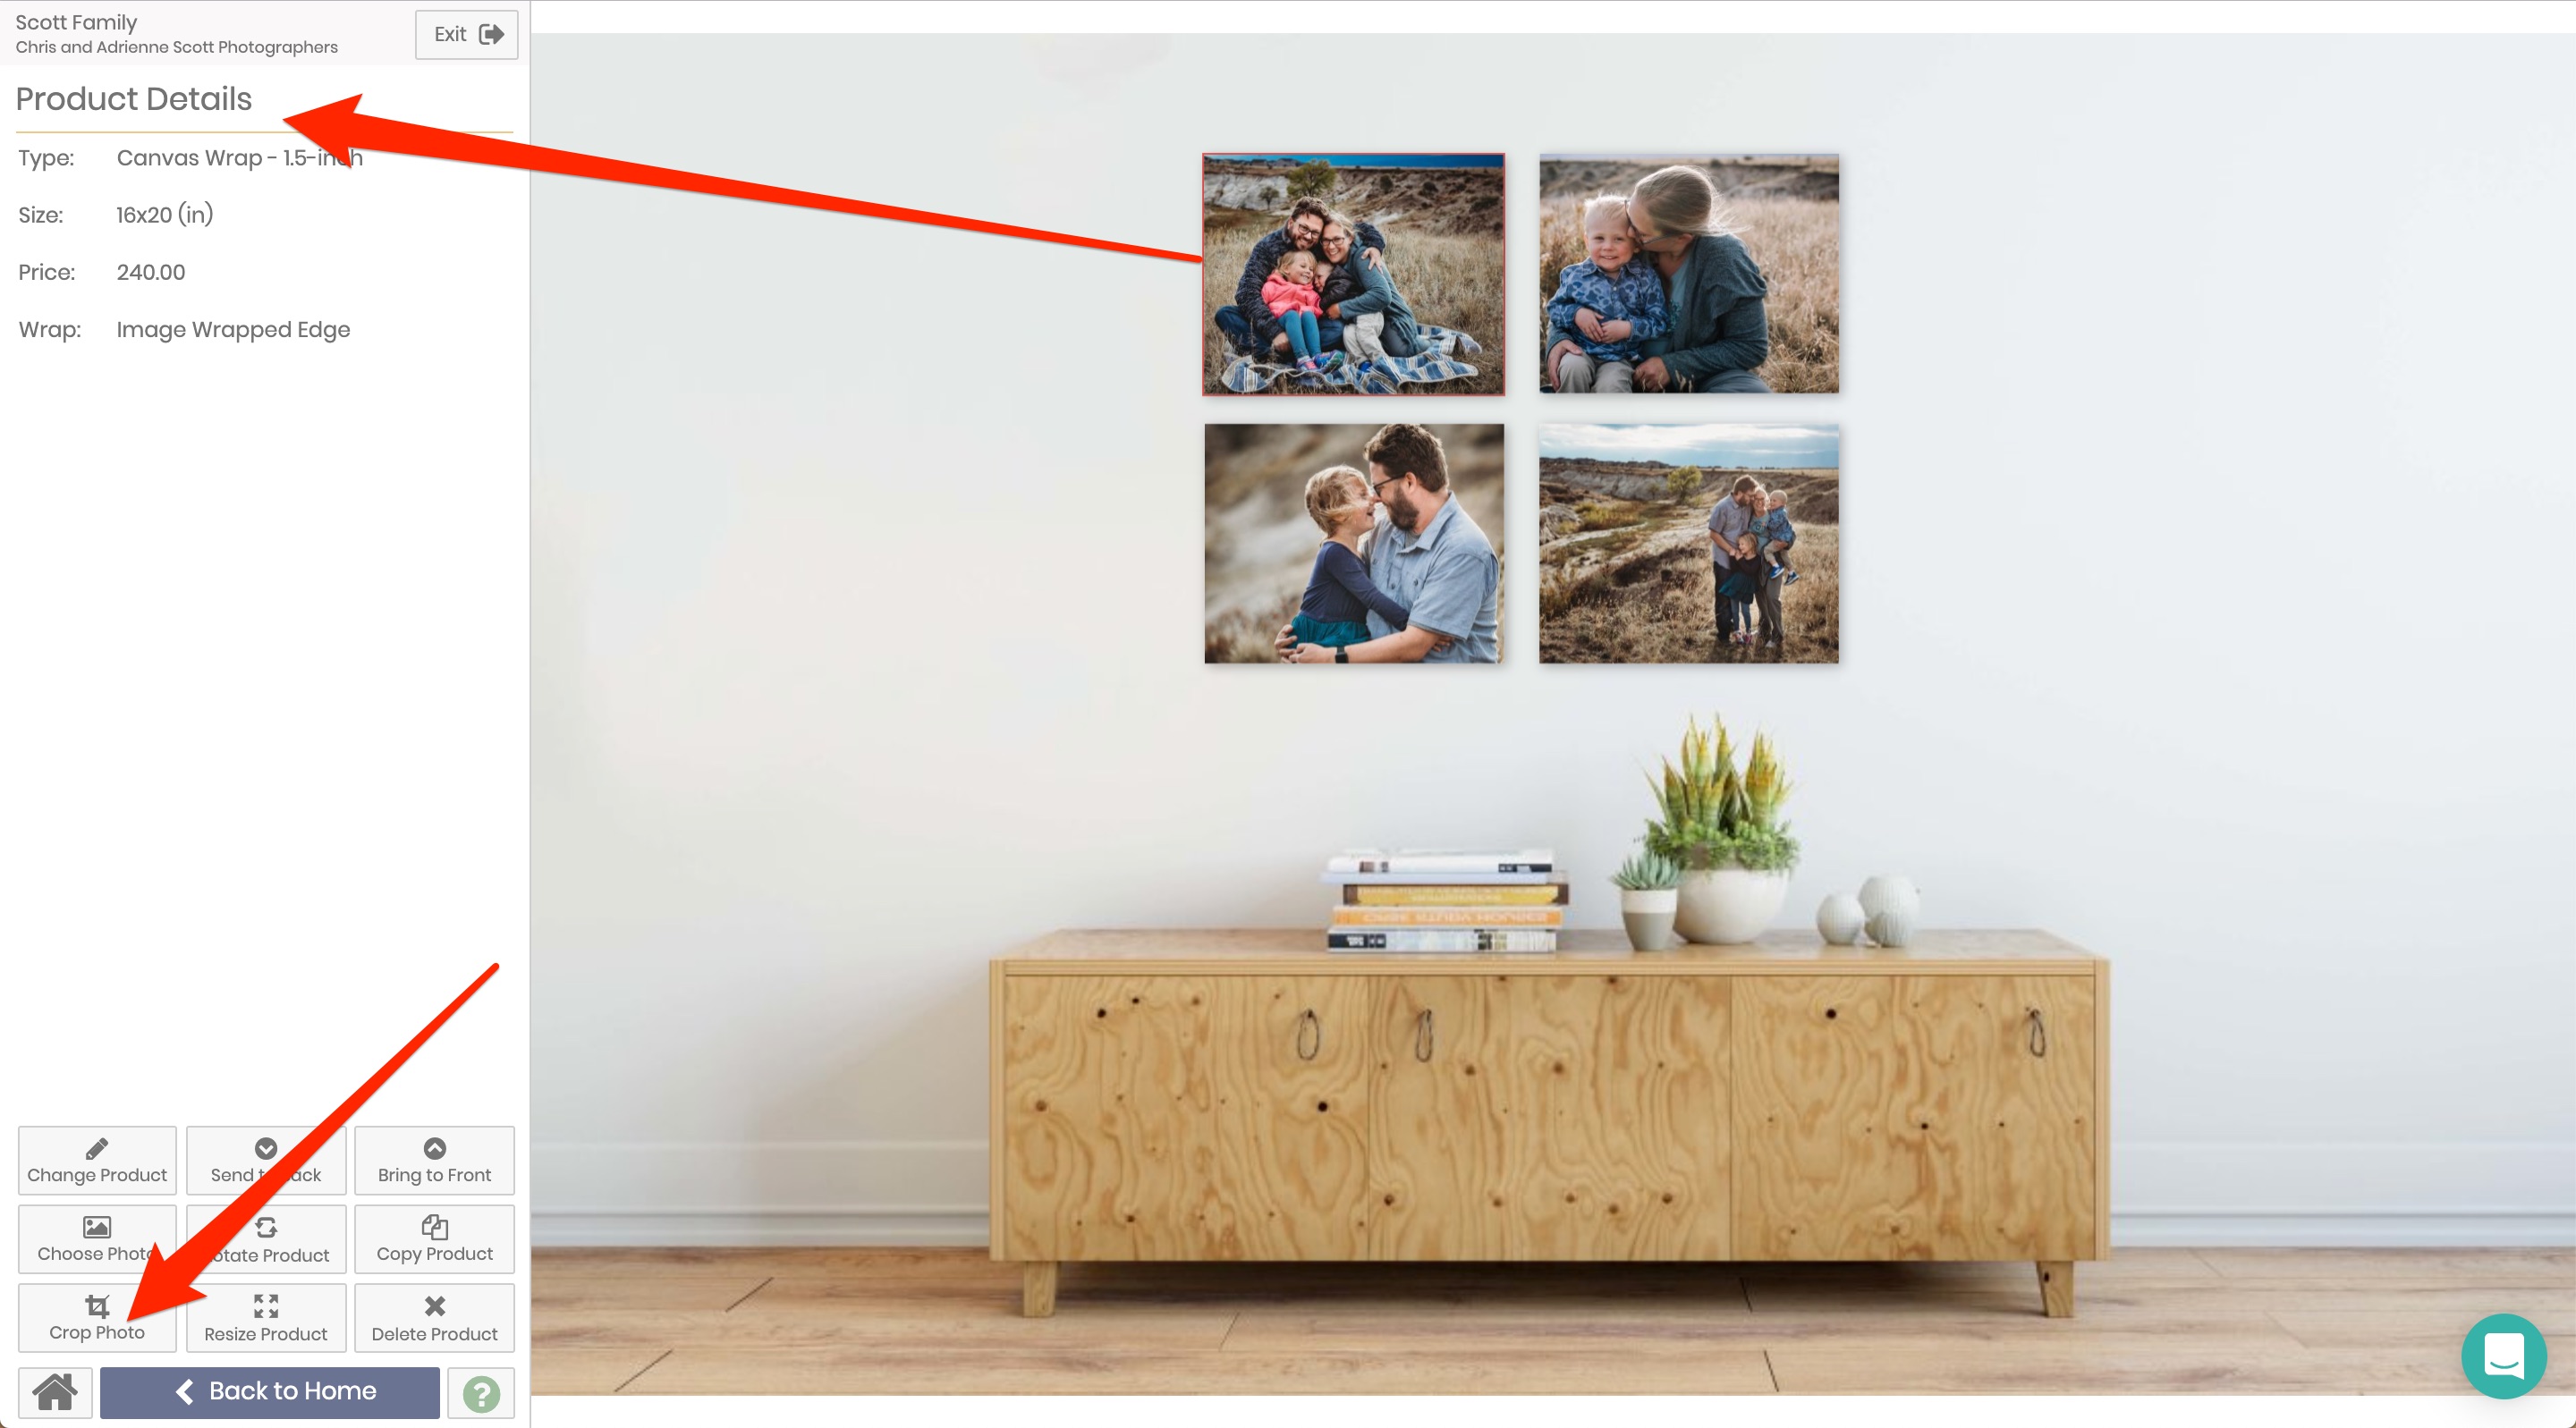
To access the crop tool, select a product (click once on the product). Then either click the Crop Photo button on the bottom left, or type "c".
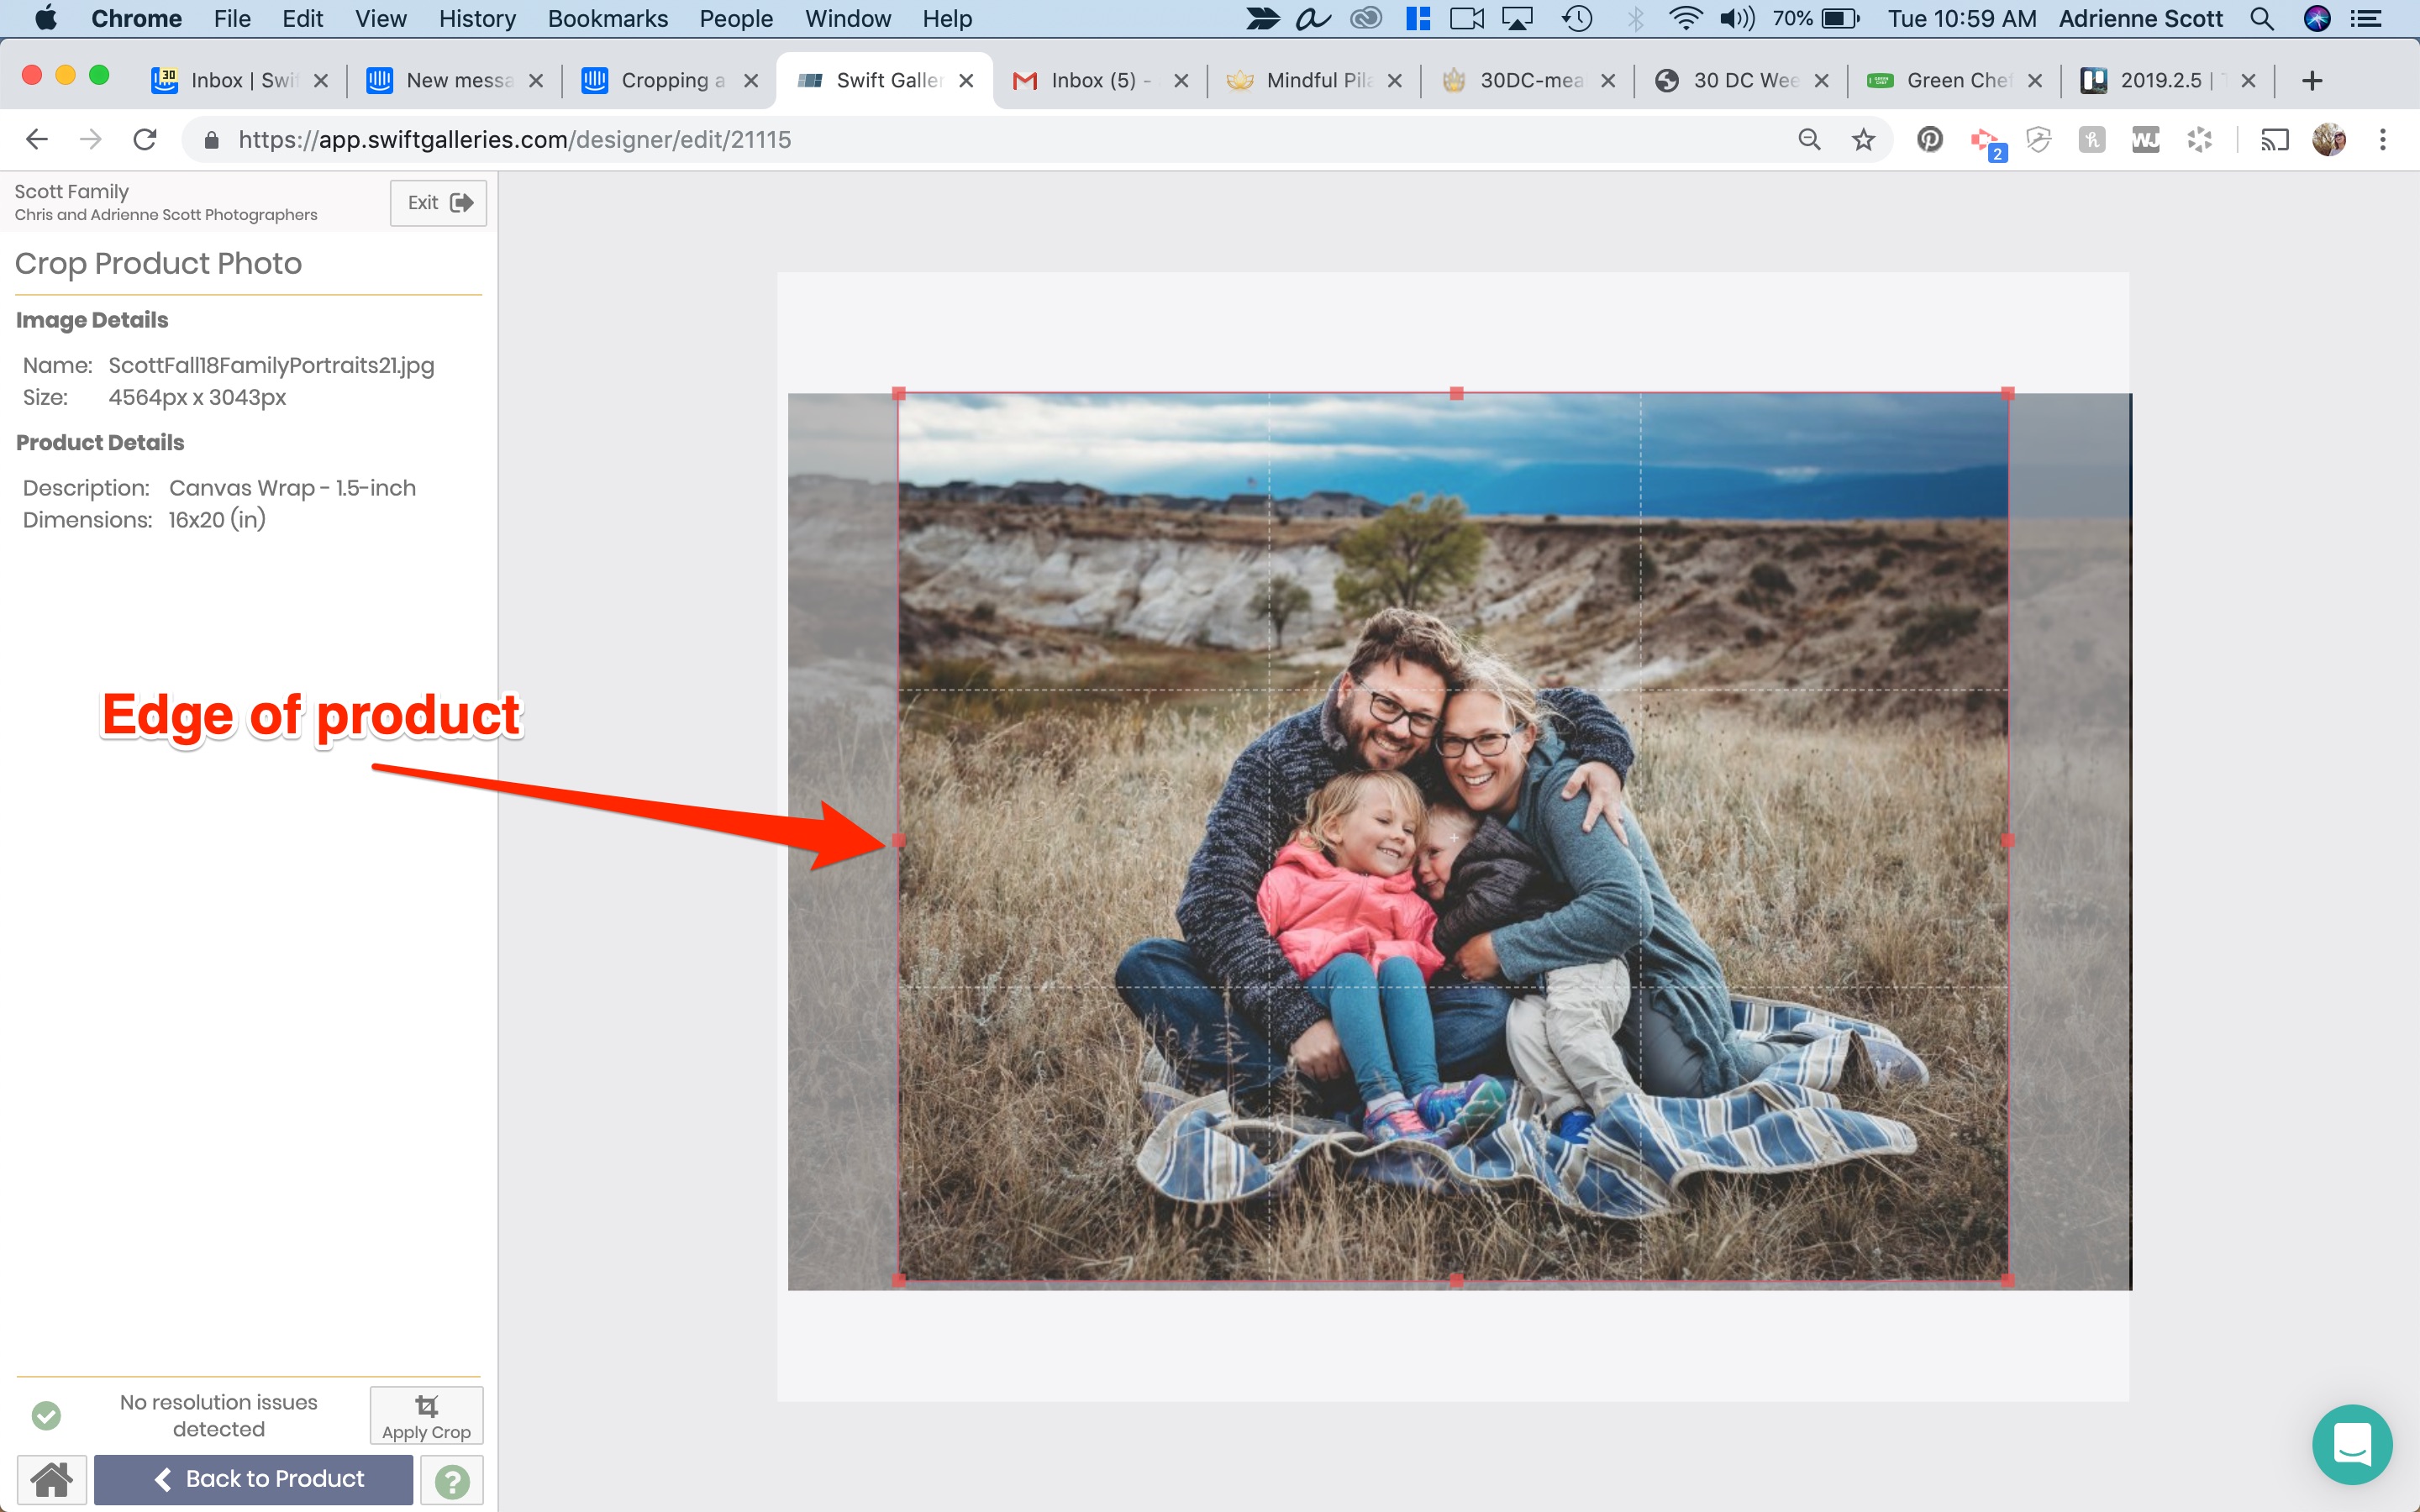
Note: If you've chosen a solid white or black edge for a canvas, you will see the bleed goes around the outside of the red crop rectangle. That light or dark area will be where the sides of the canvas are white (light) or black (dark). You can see this below, with a white edge wrap.
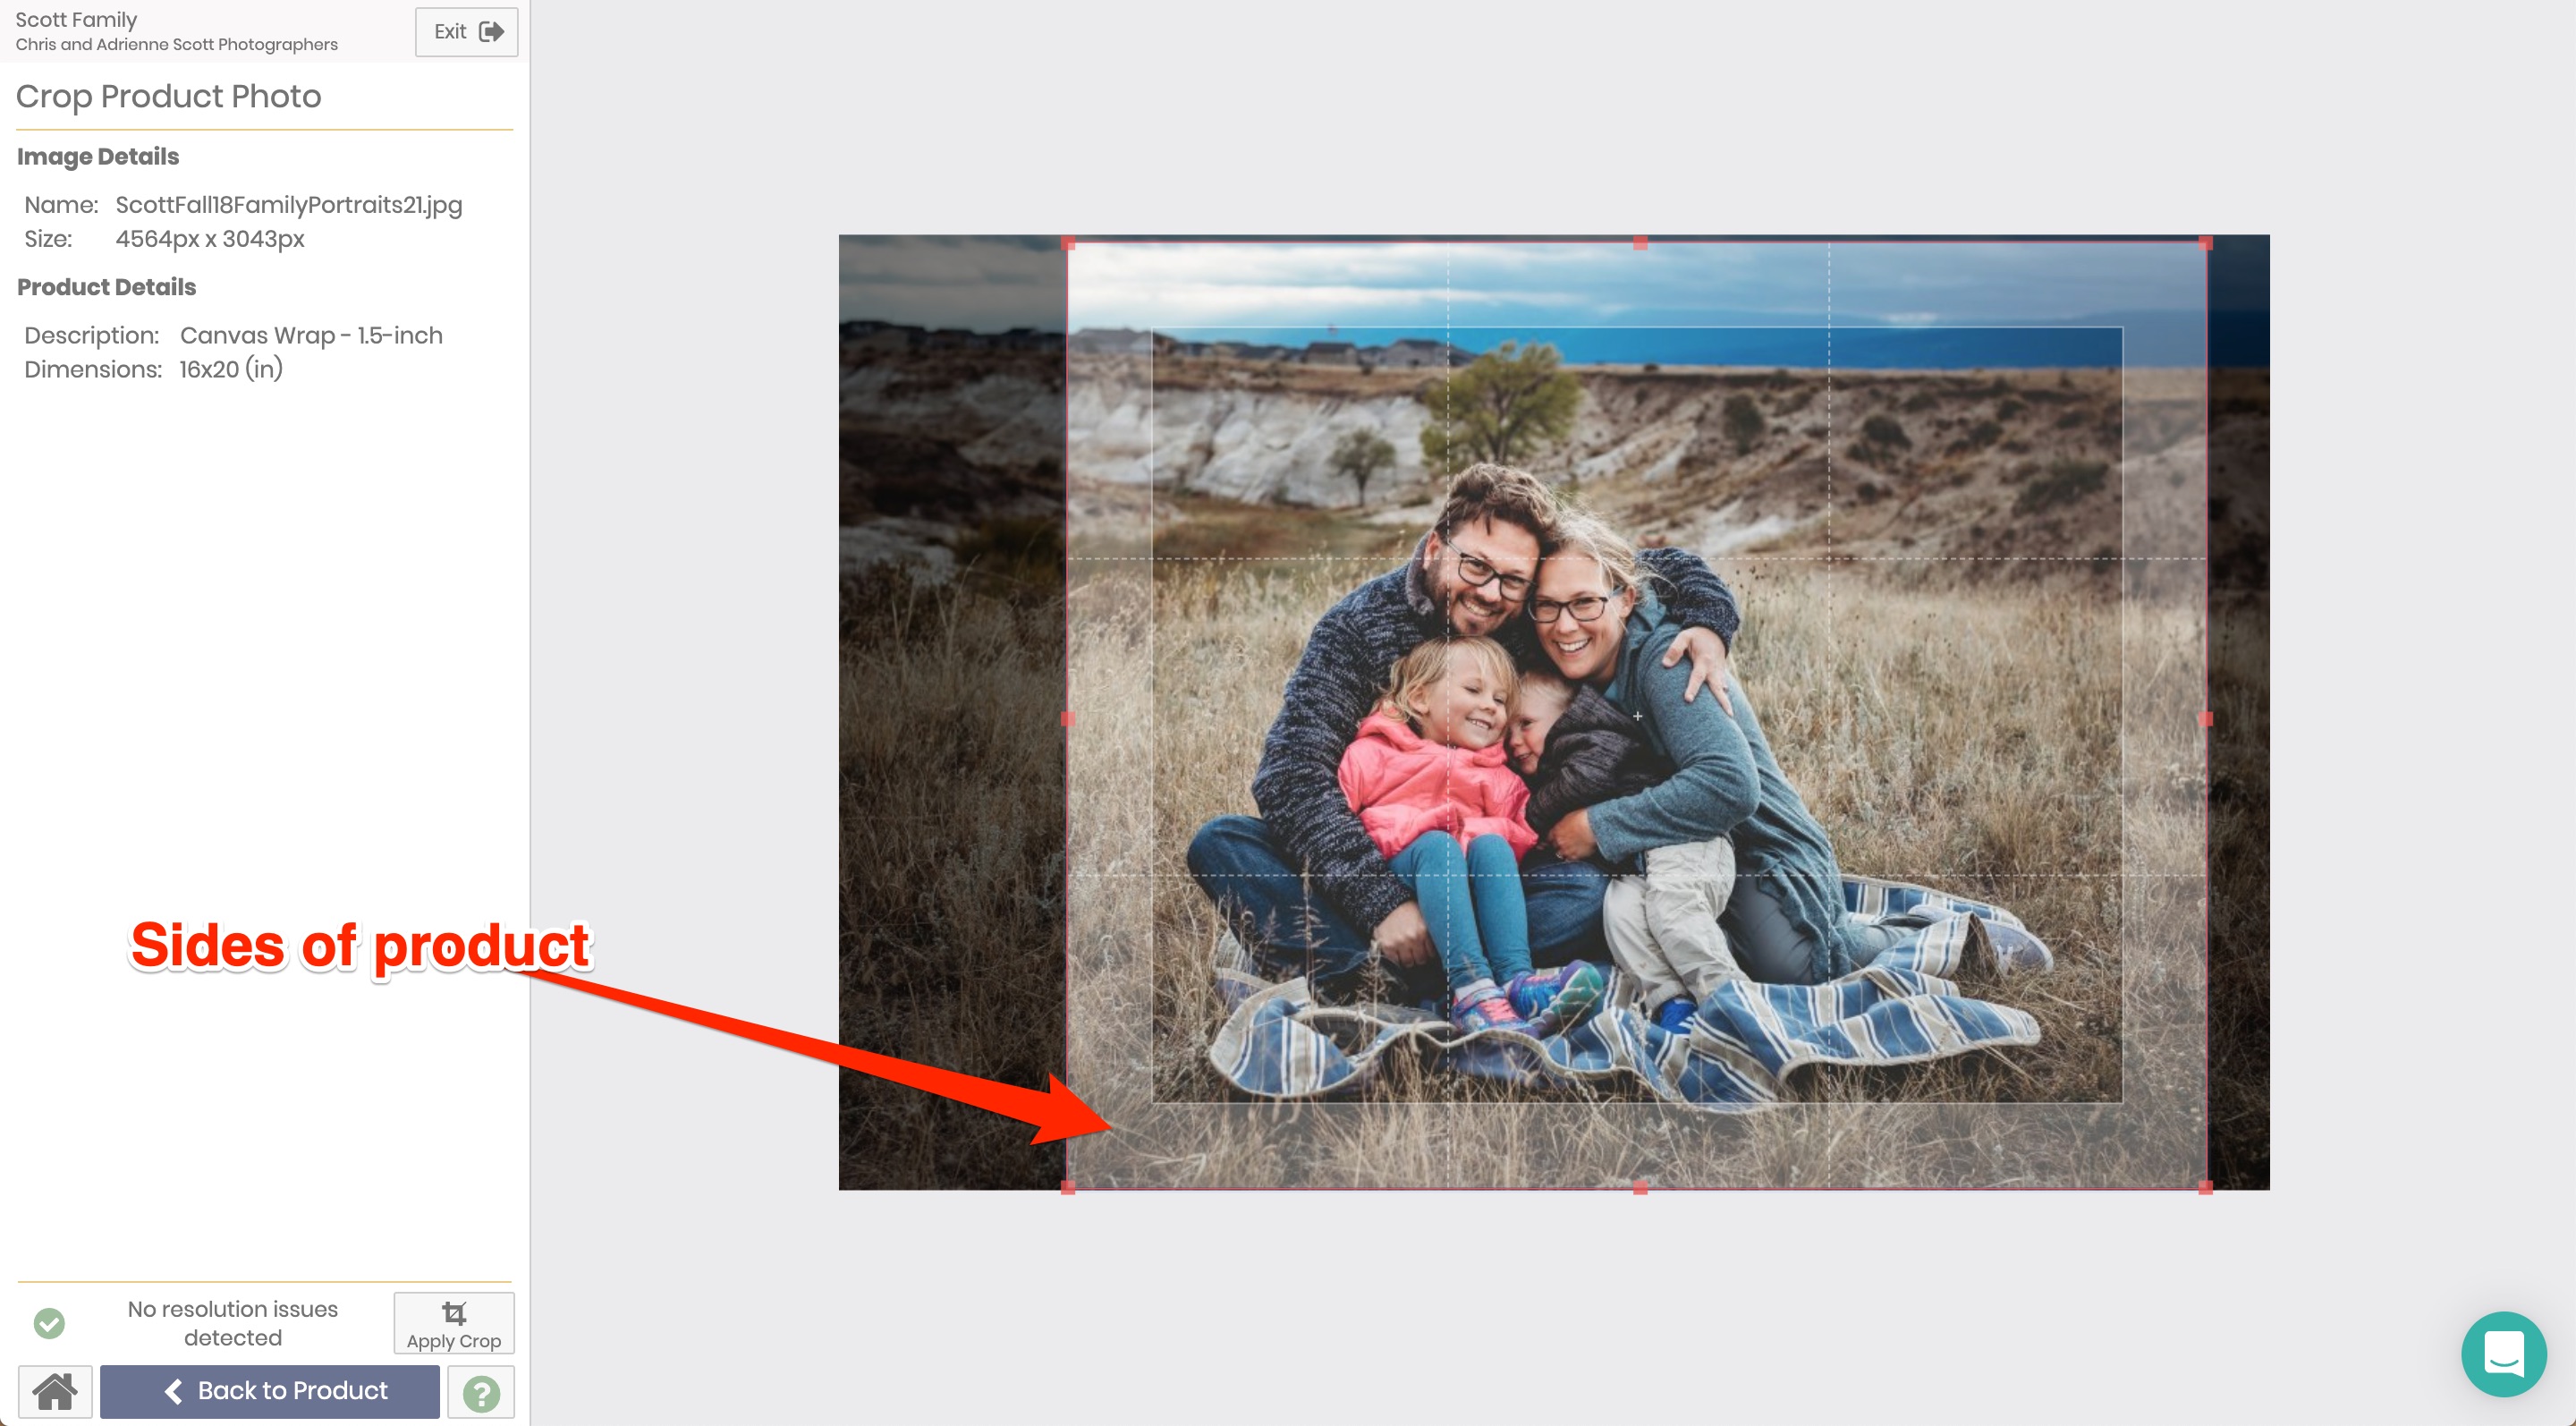
If you are cropping an image for an unwrapped product, you will see the bleed area (below, light). This is the section of the image that may be cut off during the product creation by your lab.
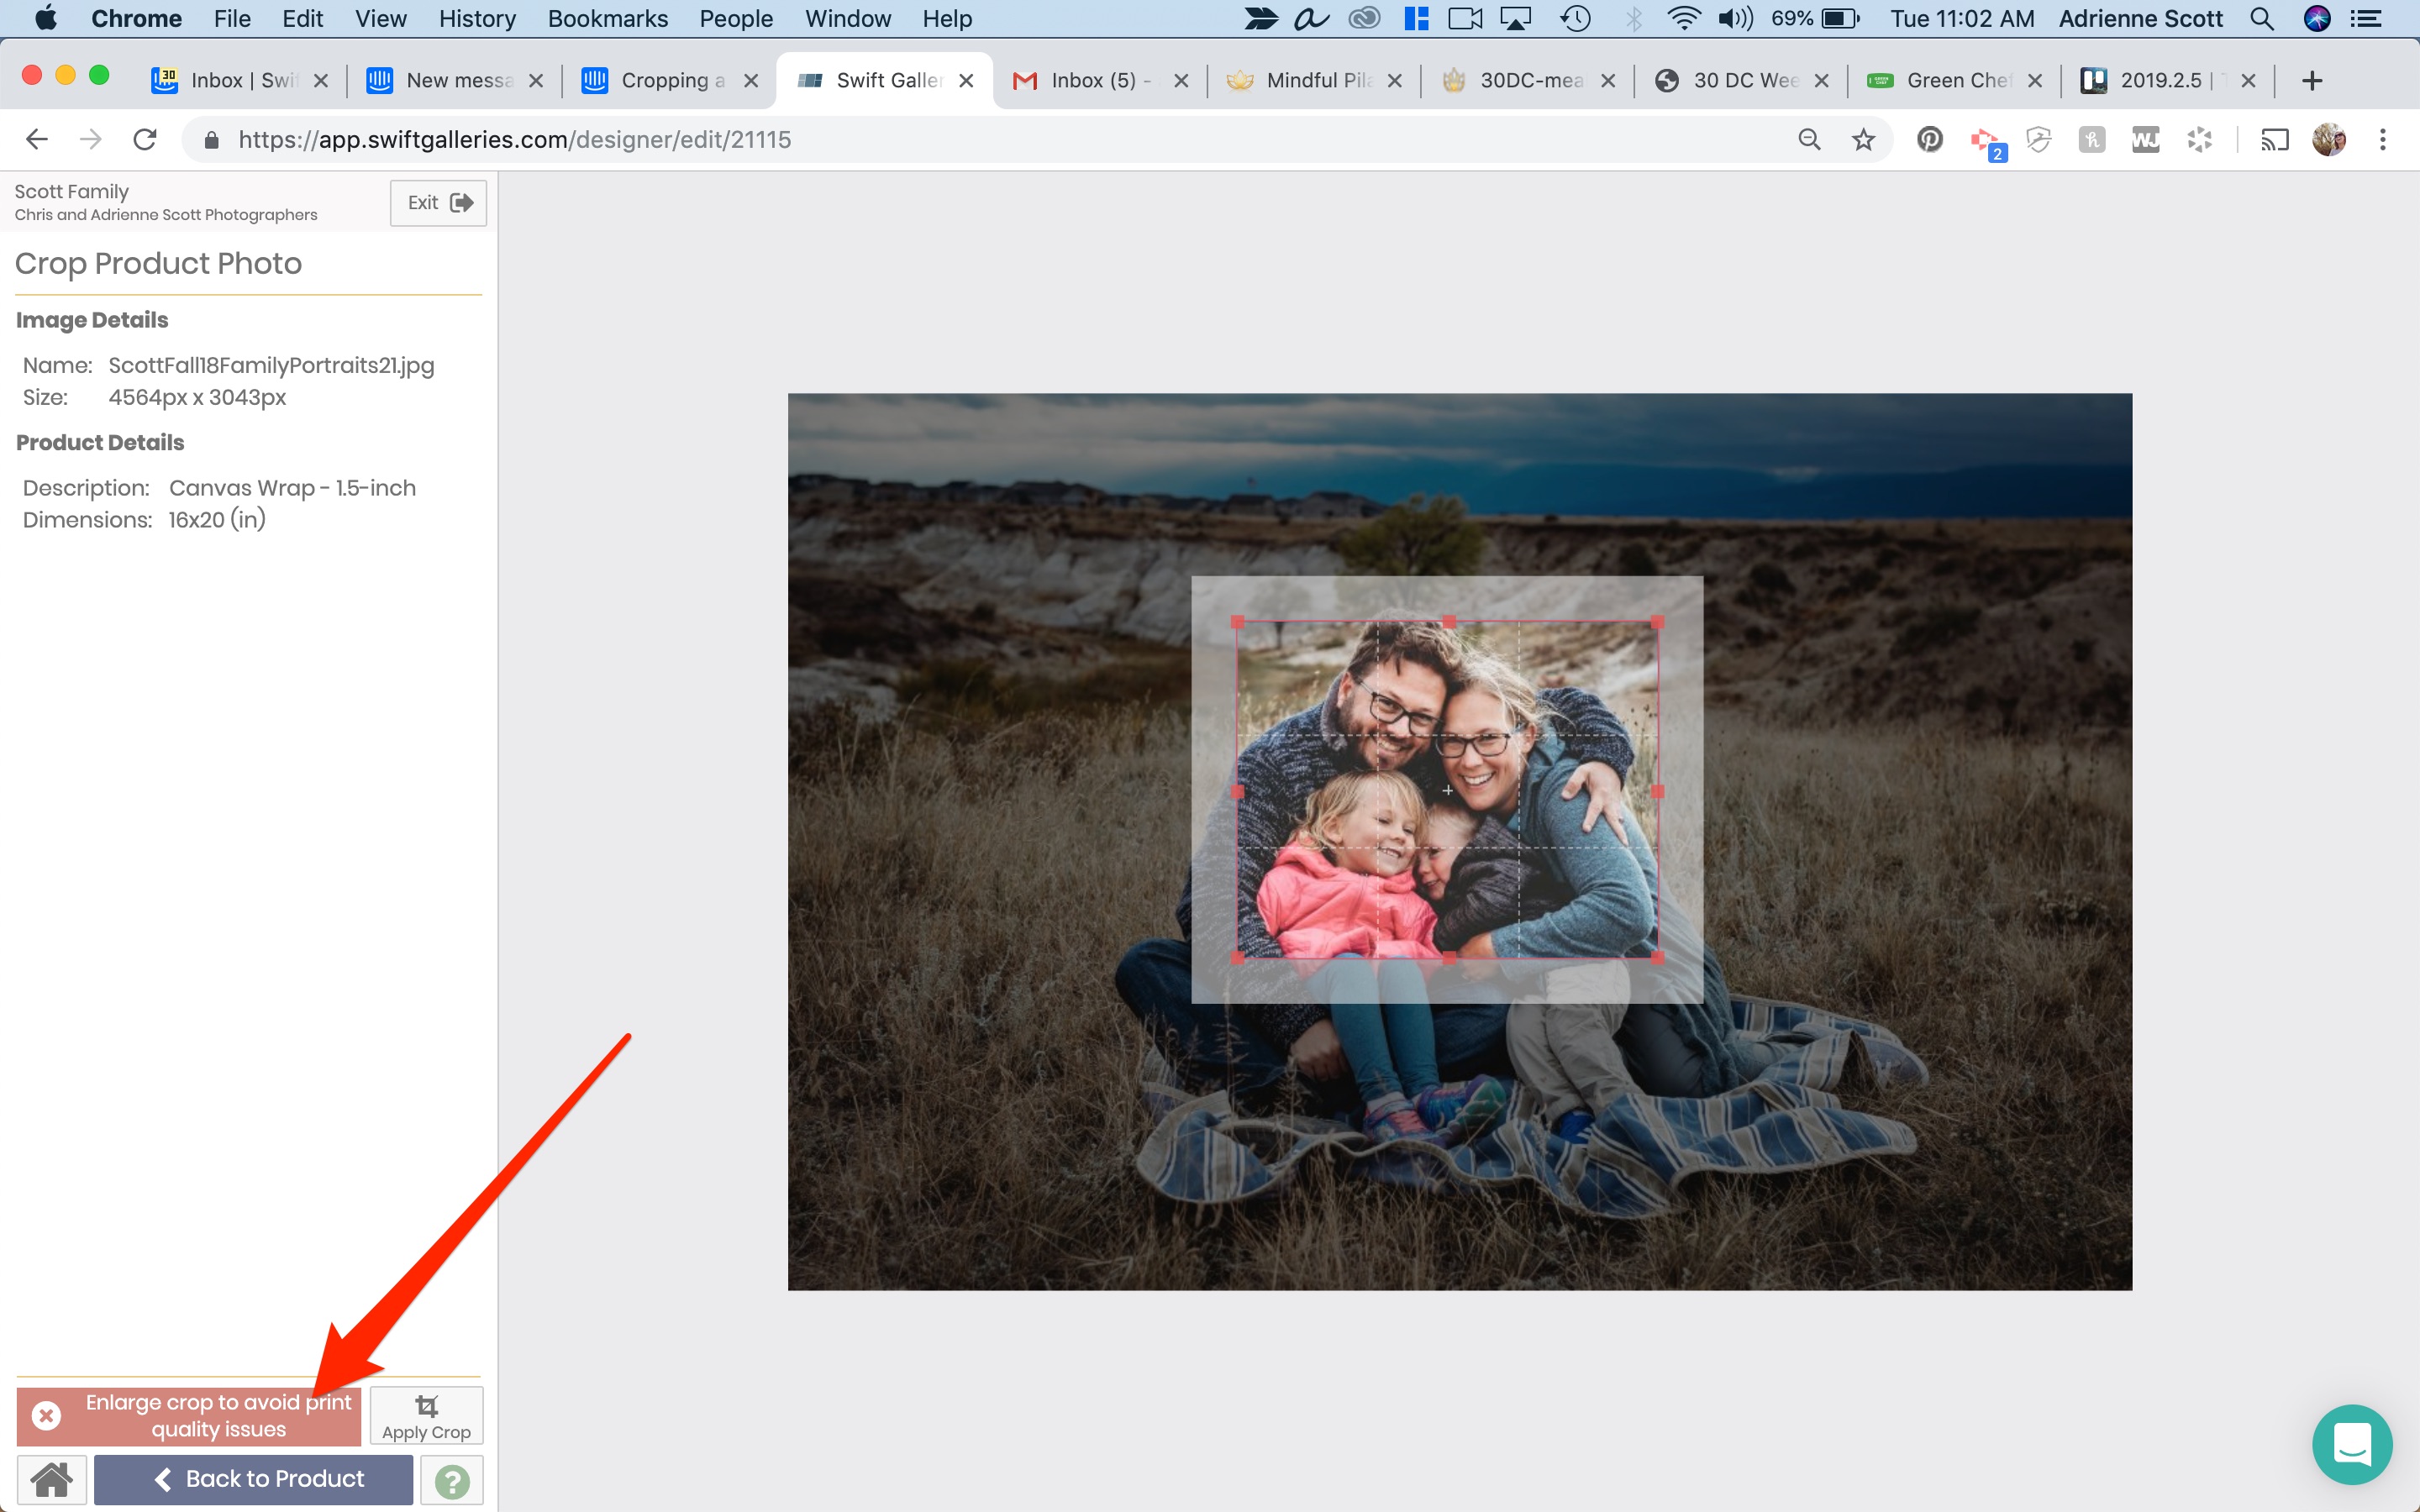
The crop tool will start out with the largest crop it can and attempt to center the crop in the image. Pay attention to the resolution warning; it will update in real time as you change the size of the crop to alert you if the print quality will be too low.
Here's an example of a low resolution warning:
Using the Crop Tool
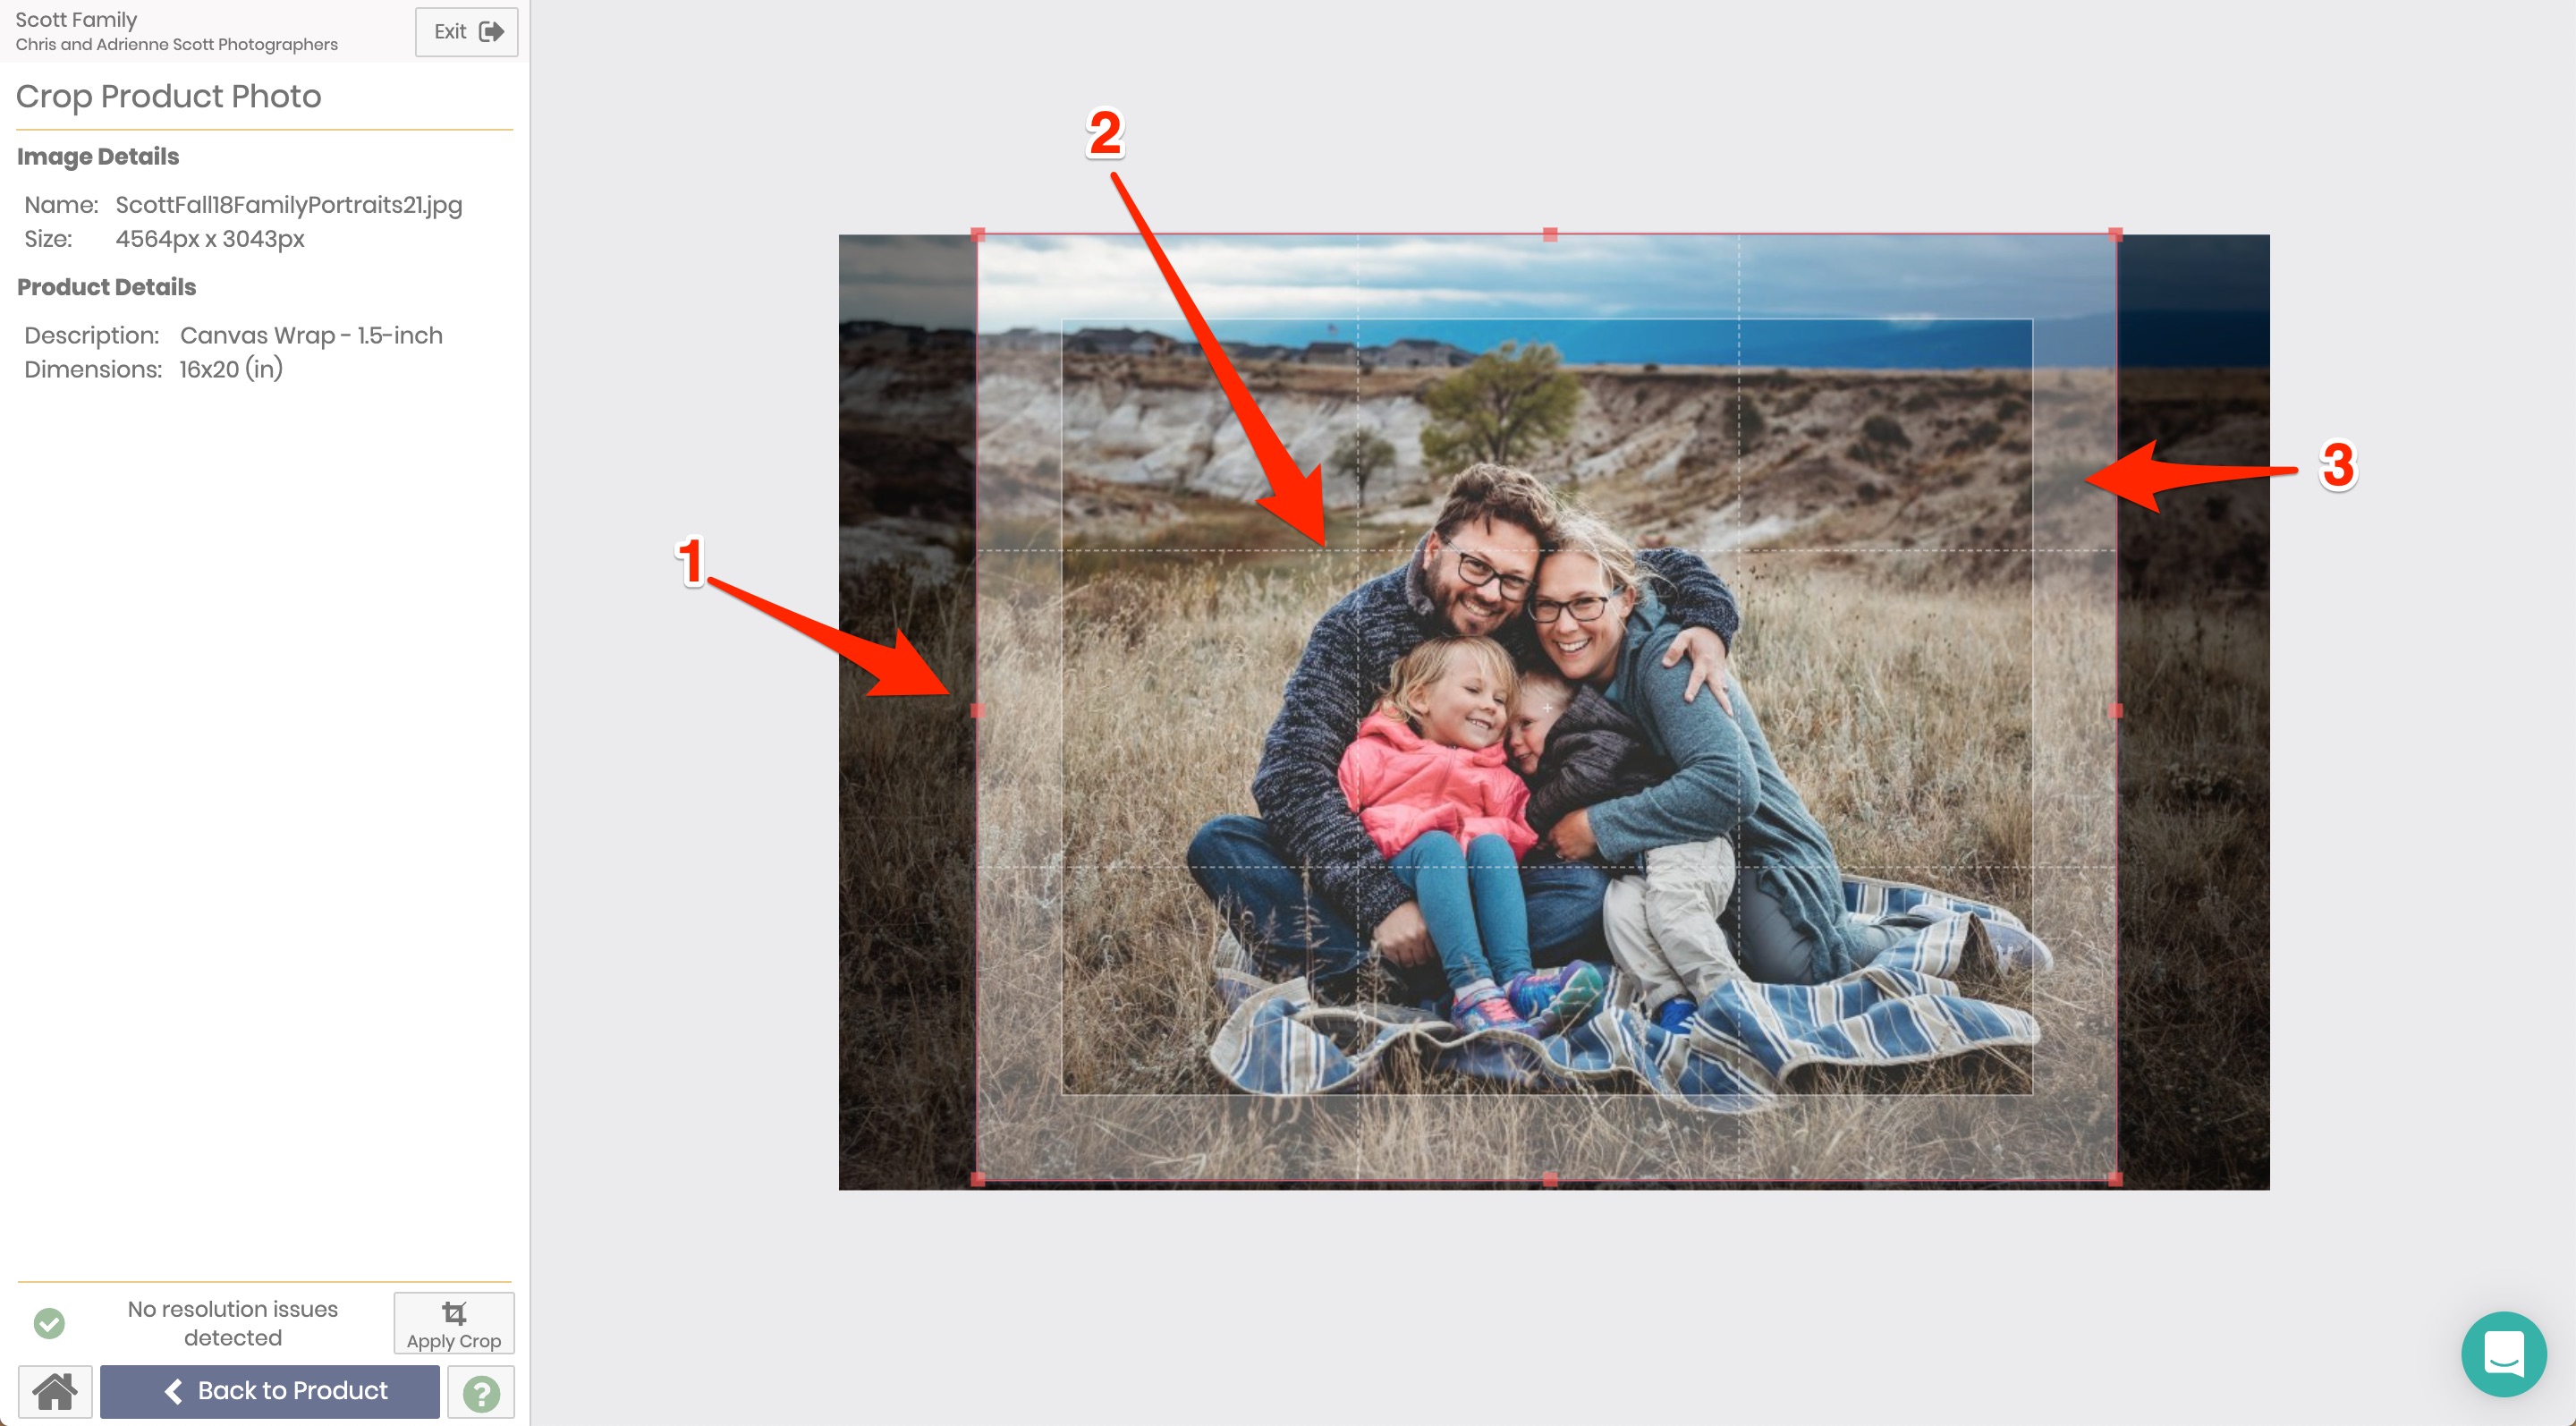
The inner most box of the crop tool (#2) shows the image that the client will see on the product; this gives you a quick idea of what it's going to look like in the product in real time.
1. Resizing
To resize, grab any of the 8 red boxes on the outside of the crop tool and drag to your desired size.
2. Positioning the Image
Grab the inner most box and drag to position the image.
3. Bleed / Edge Wrap
This is the portion of the image that will not be included, but ensures the image is printed perfectly on the product. You can see it is the section that is lighter.